

1. Refrigerant Recovery: The refrigerant in the air conditioner must be collected into the outdoor unit. Before disassembling the unit, start the air conditioner and set it to cooling mode. Wait for the compressor to run for 5–10 minutes, and once the cooling condition is normal, unscrew the protective caps on the liquid and gas pipe connections of the outdoor unit. Close the shut-off valve on the high-pressure (thin) pipe. After 1 minute, if condensation forms on the outside of the pipe, immediately close the shut-off valve on the low-pressure (thick) pipe. Quickly turn off the machine and unplug the power cord. Use a wrench to tighten the protective caps. At this point, the refrigerant recovery is complete. You can also use the indoor unit’s forced start button to start the air conditioner and check whether there are any other issues with the indoor or outdoor units to avoid problems when relocating the air conditioner.
2. Dismantle the indoor unit After recovering the refrigerant, the indoor unit can be dismantled. Use a wrench to unscrew the lock nut connecting the indoor unit, and use a prepared sealing cap to cover and protect the threads of the indoor unit connection to prevent damage during transportation; then use a Phillips screwdriver to remove the control wire. Marks should also be made to avoid incorrect connections during installation. If the signal wire or power wire is connected incorrectly, the outdoor unit may not operate, or the machine may become uncontrollable. The indoor unit mounting plate is usually fixed quite securely, making it difficult to remove; after removing it, place the mounting plate on a flat concrete surface and gently tap it to flatten and straighten it.
3. After unscrewing the outdoor unit connection lock nut, use the prepared sealing tape to tightly wrap the threads of the outdoor unit connection joint. Then use a wrench to loosen the fixing screws on the base of the outdoor unit. When removing and lowering the outdoor unit, it is best to use a rope to support it. During the unloading process, pay attention to balance to avoid vibration, bumps, and ensure safety. Carefully straighten the connecting pipes of the outdoor air conditioner, and use the four prepared caps to seal the four ends of the connecting pipes to prevent dust and moisture from entering. Once the caps are in place, finally secure them with plastic bags and coil them properly for easy handling.
4. Installation After confirming the positions of the indoor and outdoor units, immediately install the indoor unit mounting plate. Once the outdoor unit and the indoor unit mounting plate are securely installed, straighten the connecting pipes and check for any kinks or dents. Next, inspect the flared ends; if there are any cracks, they need to be re-flared to prevent refrigerant leaks. Finally, check the control wires. Once the pipes, control wires, and drain pipe are all confirmed to be in good condition, bundle them together and seal the pipe connections. When passing through walls, two people should work together from inside and outside the wall to carefully guide the pipes through to avoid damage. Connect the pipes to the indoor and outdoor units and attach the control wires. Next, remove the air from the pipes and the indoor unit. The method is as follows:
(1) Tighten the connected outdoor unit fittings (small), and use a specialized wrench to loosen the stop valve stem about one turn.
(2) When you hear squeaking from the outdoor unit fitting (large), wait about 30 seconds, then use a wrench to tighten the (large) fitting.
(3) Loosen the stem of the check valve on the (large) pipe.
(4) Completely loosen the stem of the stop valve on the (small) pipe. At this point, the air conditioner has finished evacuation.
(5) Finally, use a detergent to check for leaks, carefully observe each fitting to see if any bubbles appear, and once the system is confirmed to be leak-free, tighten the valve cap, and the unit can be started for trial operation.
(6) If the air conditioner operates normally but the cooling effect is poor, and the indoor unit outlet temperature does not meet the requirements, consider adding Freon refrigerant.
(7) The refrigerant has been fully charged, marking the completion of the entire relocation process.
2. The following points should be noted when disassembling and assembling an air conditioner:
2. 2
2.2 Before disassembling the unit, first recover the refrigerant. It is recommended not to pack the controller for now, so it can be used later. Seal the ends of the high and low-pressure copper pipes and the interfaces with tape to prevent dust and debris from entering, which could clog the capillary tube and cause the unit to stop cooling.
3. 3
3.3 Before transportation, the internal unit’s connecting pipes must be coiled in large loops to prevent the copper pipes from kinking or cracking, which could cause poor refrigerant flow or leaks. Before installation, check whether the copper pipes, power lines, and condensate drain pipes are intact.
4. 4
4.4 The indoor unit must be installed level to prevent condensate water from backflowing and causing water to spray from the air outlet.
5. 5
5. When connecting the outdoor unit pipes, be sure to evacuate the air; otherwise, air entering the compressor will cause poor cooling. The connecting pipes must be fully wrapped, and the piping should be horizontal and vertical to maintain overall aesthetics.
6. Regarding the issue of adding refrigerant to air conditioners. Maintenance services such as adding refrigerant, cleaning, moving, drilling, and buying/selling units are common topics of concern for users. If a properly installed air conditioner is used, it may not need refrigerant for two to three years; otherwise, it could leak completely in just a few days. If an air conditioner has no refrigerant, it definitely won’t cool, but an air conditioner not cooling doesn’t necessarily mean it’s low on refrigerant.
7. Steps for Installing and Disassembling an Air Conditioner:
8. 1. Fluoride collection: Turn on the cooling system, and after the compressor starts working, close the high-pressure valve and run for one minute. Then close the low-pressure valve and stop the machine. Unplug the power cord (important).
9. 2. Disconnect the outdoor unit’s copper pipe joints and the outdoor unit’s electrical connections (remember the order of the wires).
10. 3. Remove the indoor and outdoor units.
11. Installation:
12. 1. Nail the indoor unit mounting plate at the designated position (it must be level), then hang the indoor unit after the pipes have been passed through.
13. 2. Determine the position of the outdoor unit according to the length of the pipes, and ensure that the outdoor unit is level.
14. 3. Connect the high and low-pressure pipes. First, open the high-pressure valve, then loosen the locknut on the low-pressure pipe (to release air from the pipeline). After hearing air flow for 8–10 seconds, tighten the locknut, open the low-pressure valve, and connect the wires in sequence.
15. 4. Turn on the power and test the unit. Check the pipe connections (at the locknut) for any leaks.
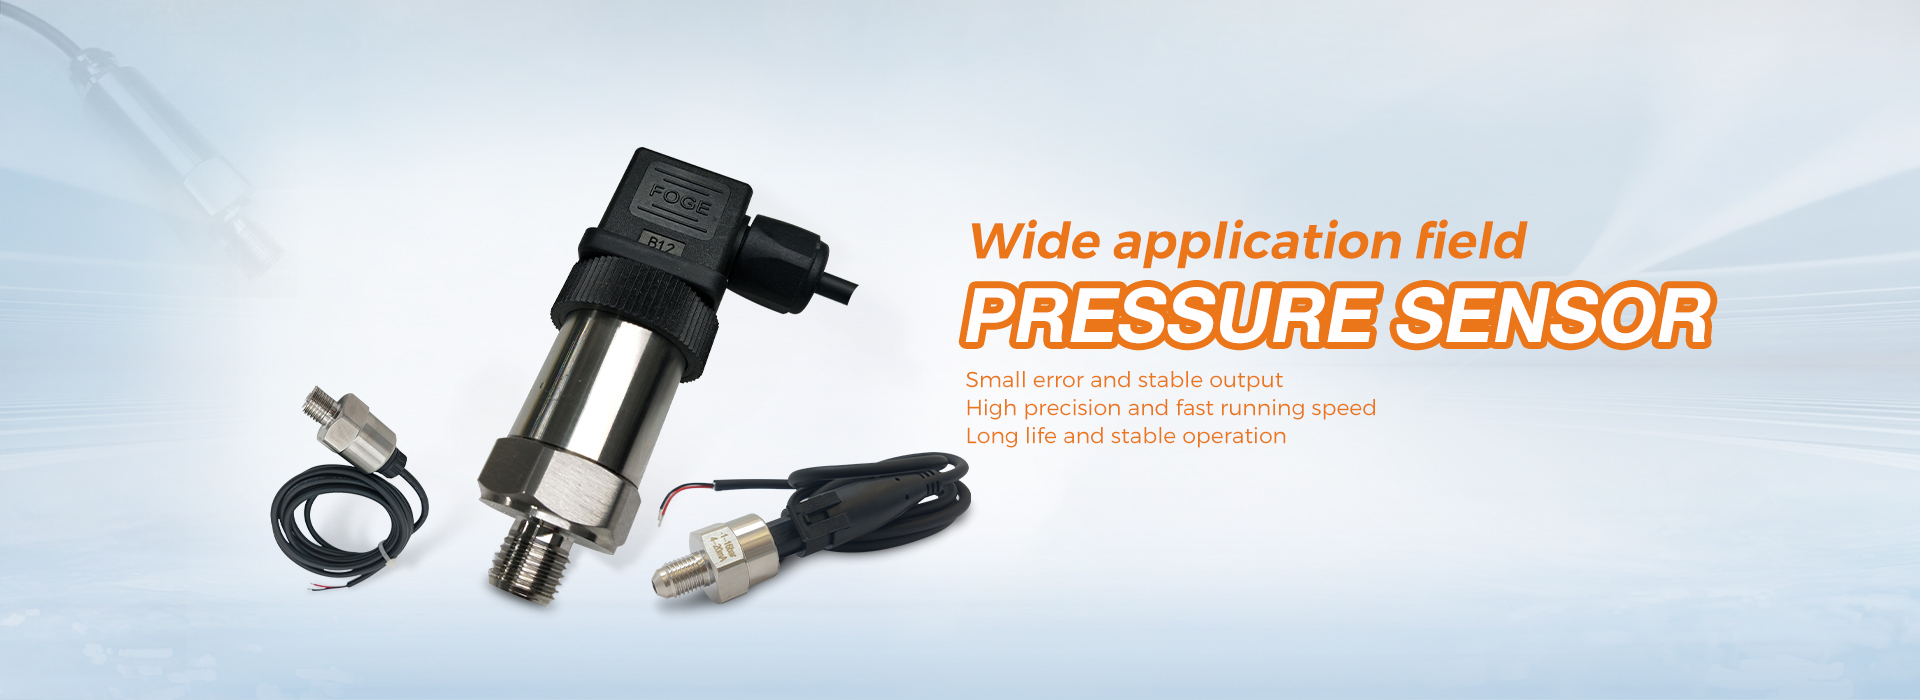
The above is some information about the air conditioning, hoping to be helpful to you. Our Chinese factory produces pressure switches and sensors, which can be used for air conditioning compressors and refrigerants,HVAC ,fan cycling, condenser ,chill and so on ,Welcome to our website for details: https://www.ansi-sensor.com
Post time: Nov-17-2025